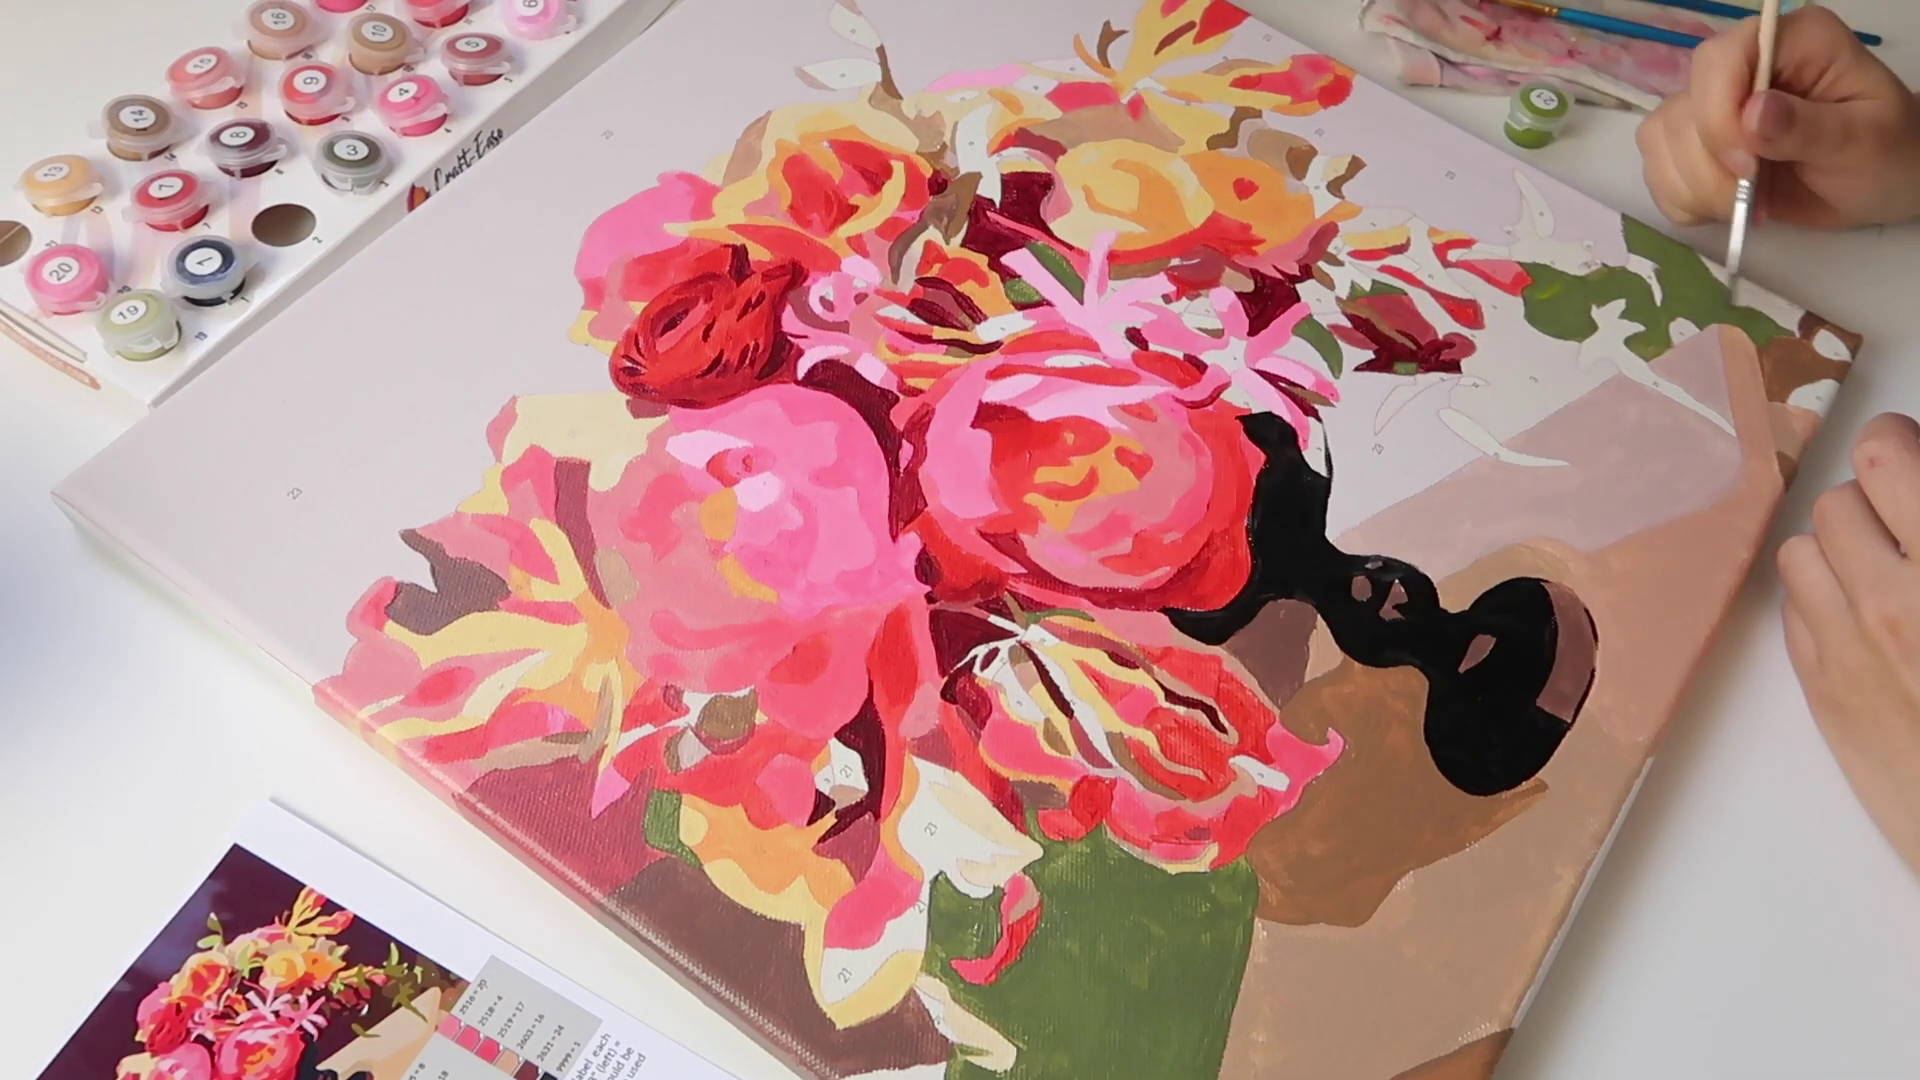
Paint by Number Tutorials for Beginners
Paint by numbers we have today is nothing like you’ve seen back in the days! We have so many different designs with various levels of challenges. Our kits take away the scary part of the painting and leaving only the fun relaxing parts for you to enjoy. Begin your first step into art therapy at home.
If you are still unsure about paint by numbers and what it actually is, you can head on over to our “What is Paint by Numbers?” article to read more about the craft. Hopefully it can help you decide if it is the correct craft for you to dip your toe in. Or even take a peek at out “What is Diamond Painting?” article.
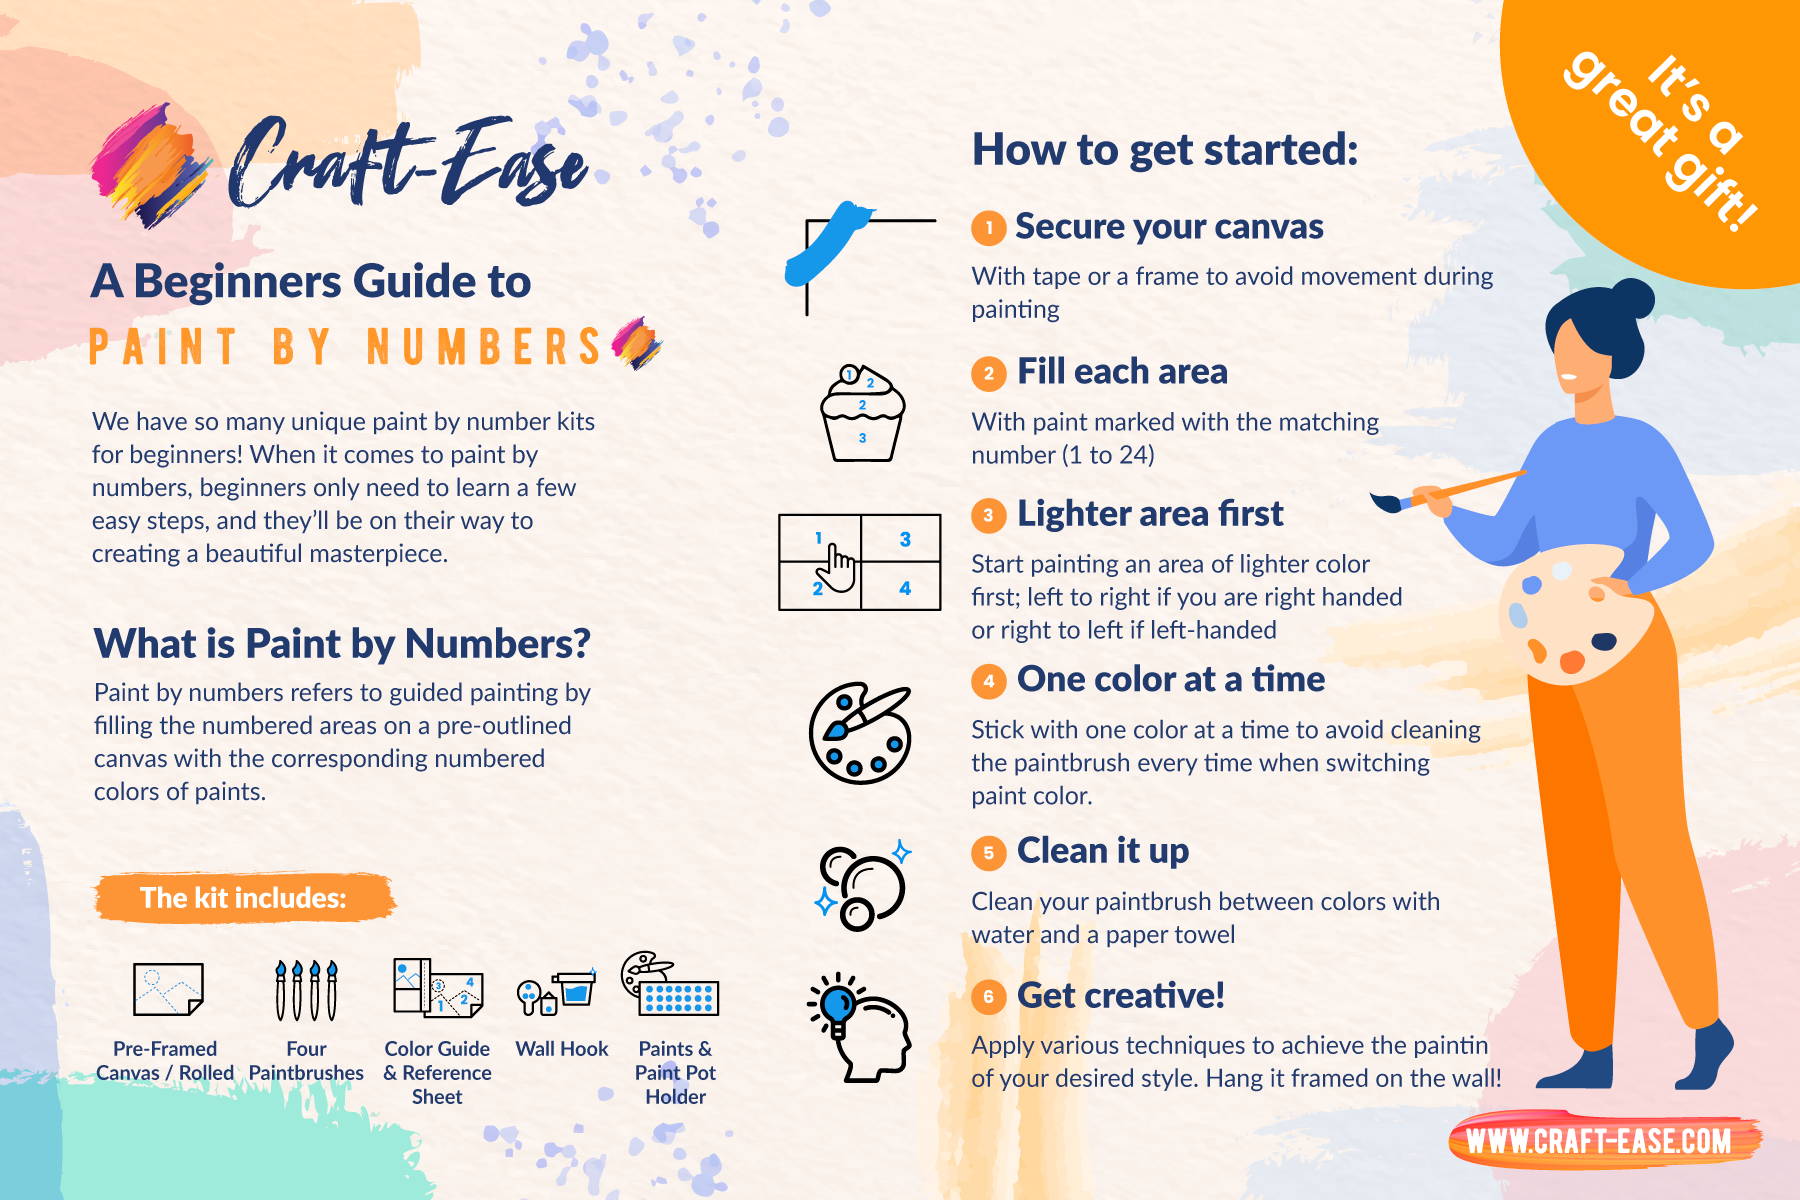
Things you would need!
You don’t need to look for much, as all we got you covered! These are what’s already in your kit:
- Paint by numbers canvas - Either rolled or framed, this is your main play area. Each enclosed area is going to be identified by a number. This number relates to the color that supposes to be painted there.
- Paint Pots - Match the color in the label to the area is the canvas!
- Paint Brushes - We give you four paintbrushes in various sizes to cover different sized areas. But if you are a master crafter, feel free to bust out your fancy artist’s brush!
Other things you would need to grab from around the house are:
- Water container - with clean water in them, I like to have a couple of them handy to wash my brush and keep them damp.
- Tissue paper or old rag - To clean your brush and dry them off between colors.
Before you start painting.
There are a few things that you can do to make the whole experience smoother. Pick and choose which ones you think you would want to do!
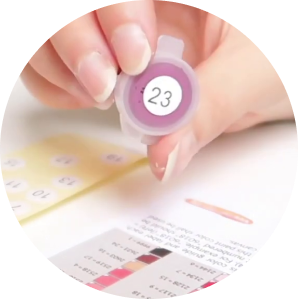
Labeling your pot!
As you noticed the paint pot may not come with the label of numbers ranging from 1-24 like shown on your canvas. It’s time to do that, please refer to your color guide and use the provided number label to make sure the right colors go to the right number.
Flatten your canvas
This only applies for the ones that get their paint by numbers kit with a rolled canvas instead of pre-framed. You might have to do a few things to make it completely smooth, from all of the wrinkles and curling. You can check out the detailed tips on our “How to Flatten Paint by Numbers Canvas”
If you are someone that enjoys working on easel than a flat table, you can also mount your rolled canvas on a wooden stretcher. You can get yours with us: “Original DIY Wooden Frame”. Or you can mount your rolled canvas on a board or foam.
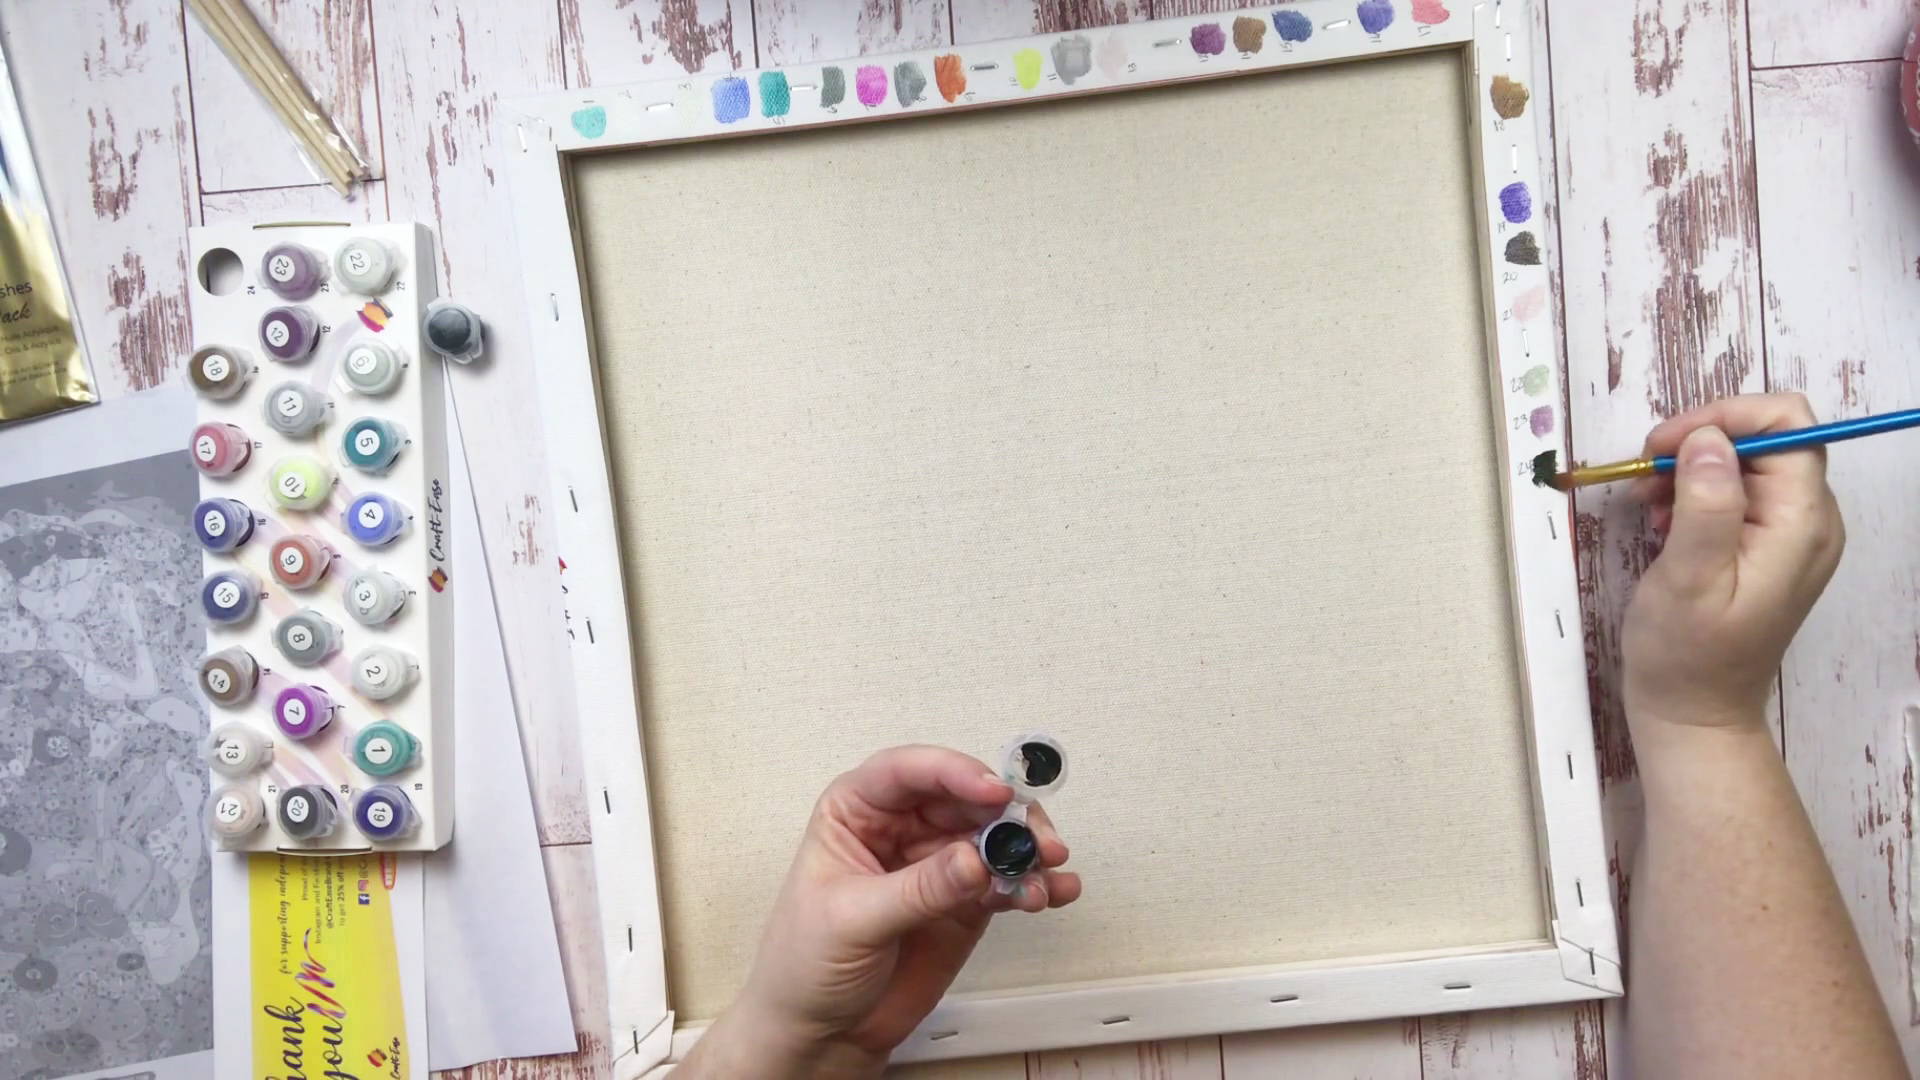
Swatch your colors
You can swatch your colors on the sides of the canvas, or behind it. Swatch the color and its corresponding numbers in the canvas.
This is not a must but this will help you understand the color palette. This helps you know how each color will turn out once it has dried ahead of applying them in your artwork. As well as the texture of each color.
Applying a thin layer of clear gesso
Your canvas come primed from Craft-Ease, but we have heard from our community that applying a thin layer of clear gesso helps improve the grip of the canvas and makes paint applications much smoother.
Make sure that you are applying a clear gesso, instead of a while gesso, you do not want to cover the printed numbers and lines on your canvas.
YOU ARE READY TO GET PAINTING! (finally)
Our community member, Melissa, shows us her unboxing and painting process. Along with some nice tips she has for your first painting. This will help you keep your place and enjoy the process.
Go to a well lit place where you will not be disrupted, and relax!
Where to start from?
To be honest, there is no rule of where to start. Whatever floats your boat.
That being said, we tend to start with lighter colors. Since mistakes are easily covered by layering a darker color on top of it. And I usually want my lighter color to dry first since I might need a couple more layers to form a completely opaque painting.
Melissa does have a really good tip on the direction where to go though. To avoid smearing your paint that has not dried, try to move in a direction that prevents you from laying your hand on wet paint.
So if you are right-handed, working from left to right helps. If you are a leftie, working from right to left is best. And always work from top to bottom, so that your hand does not rest on wet paint.
We would also like to recommend working from largest areas first, this way, you can see your painting shaping up much quicker. You will feel more motivated to finish the paintings, as opposed to the slow progress you will get if you start from the smallest areas first.
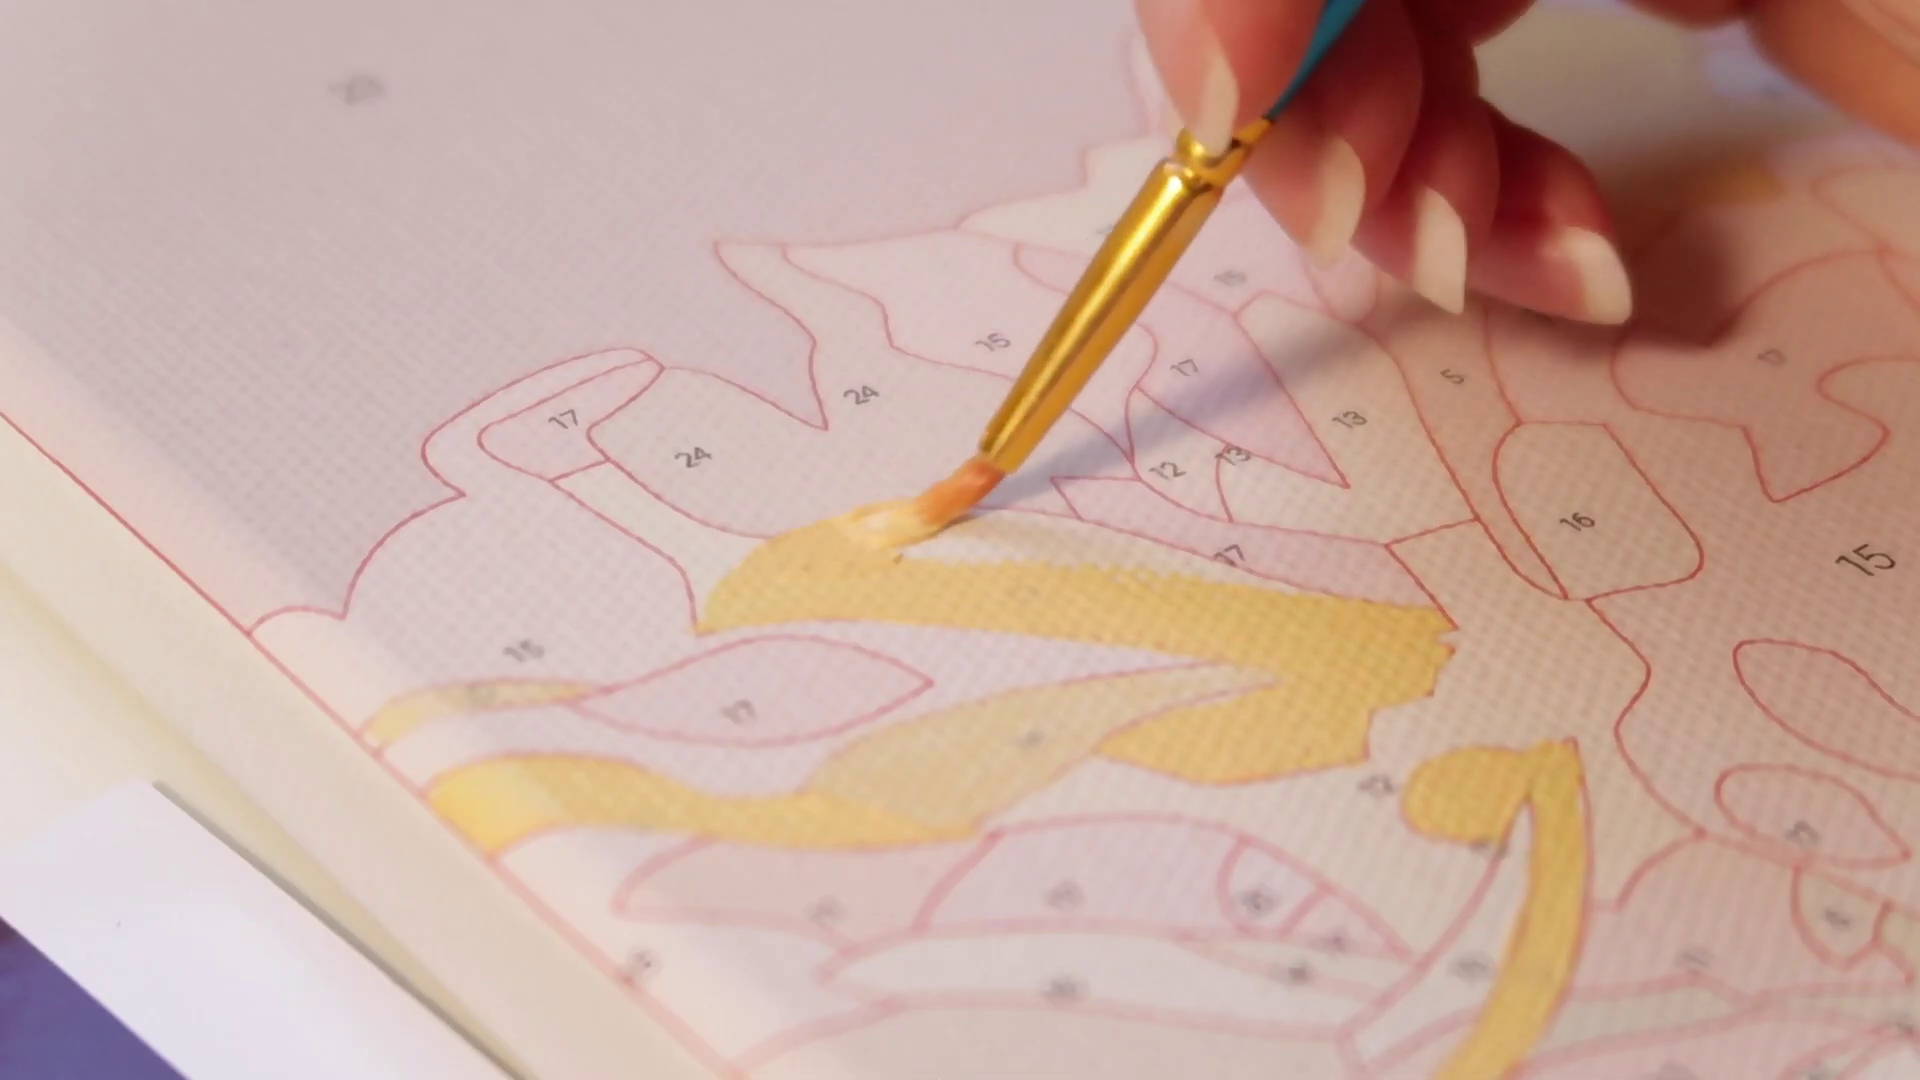
Between colors
With 24 colors on most of our canvas, you would need to switch colors often. We recommend waiting for directly neighboring colors to dry first before painting in that area, to make sure no mixing in colors and maintaining a crisps line. But acrylic paint dries really fast so you won’t have to wait for long.
Clean your brush in the water container, give it some swish and dab it on a tissue paper or old rag.
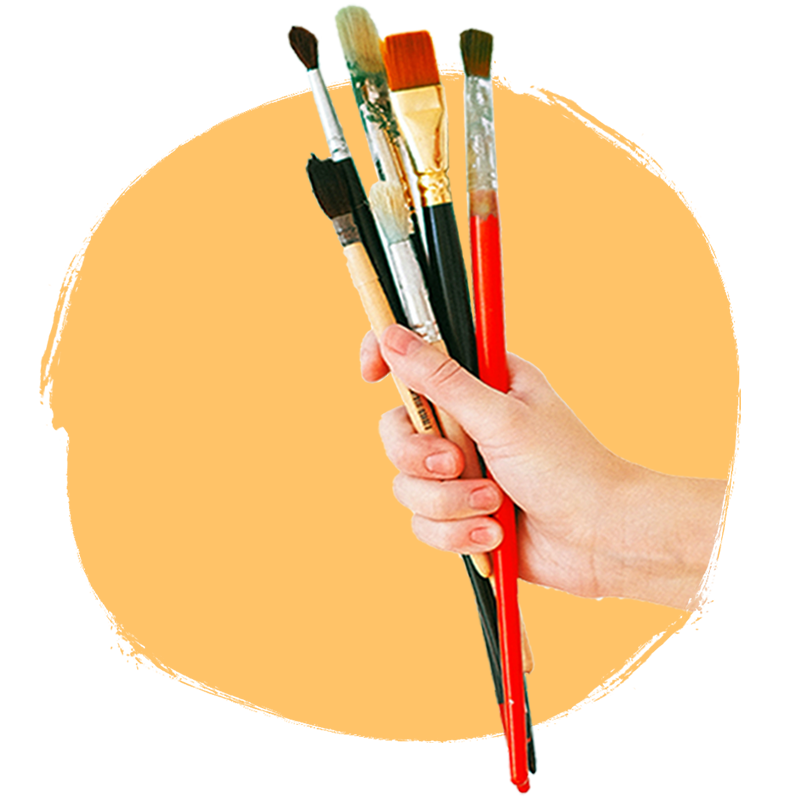
Maintaining brush longevity
Make sure that you thoroughly clean your brush between colors and at the end of your painting session. This will prolong the life of your paintbrush, as it will become unusable if you left acrylic paint to dry on the bristles. This is also true when you are switching to a different brush; either clean it completely or leave it soaked if you plan on using the brush again in this session.
Preventing the paint from drying!
As we mentioned before, acrylic paint dried really quickly. This serves to a nice and smooth painting experience, and they keep their color for a really long time too. But this also means your paint pot can dry up before you finish your painting!
To avoid having your paint pot dry on you, make sure you keep the lid of the pot properly closed whenever you are not using that color! When stored correctly, our paint can stay workable for about 8 months after purchase
Covering the Printed Numbers
There are times when you are working with lighter colors, and you find that the printed number still peaks through the paint. When this happens there are a few things you can do:
- Go in with another layer - specifically for lighter colors, you might need a couple more colors than the darker counterparts.
- Use a white acrylic marker - so that the number will be locked before layering the color on top of it
- Tap, don’t Swipe - Use the tapping motion to distribute the paint instead of swiping. This will create a thick streak-free layer to cover the printed numbers.
Finish up your painting
When you are happy with the result you have, you can go ahead and seal your painting. Use the clear liquid that comes with your kit, and apply a thin layer of this when your last paint layer has dried. This will give your painting a glossy finish, and the paint will be protected from dust and keep its color for a long time.
An additional step you can do if you have a framed kit, is to extend the painting to the sides and giving it a seamless look. Or just paint the sides of your canvas with black paint for a more polished, finish look.
Have Fun!
This painting is for you and your relaxation. Do it the way you want it! You can make paint by number simple and fun.
Take breaks so that you don’t strain your eyes and back. Don’t stress too much and remember that your canvas is a judgment-free zone.
For more advanced tips on how to personalize your paint by numbers kit read on our other art tutorial pages!
Tips for Personalizing Your Paint by Numbers
Paint by number is a good way to start painting. We know how a blank canvas can be daunting! Here are some excellent paint by numbers tips to take you beyond the basic steps. Paint by numbers gives you the building blocks to start your art journey so that you can unleash your creativity in a stress-free setting.
Best Paint by Numbers Kits
All Craft-Ease™ kits come in a gift box - the first and only in the industry – so it’ll be a real treat when you receive yours! Since many customers order to deliver thoughtful paint by numbers gifts directly to their loved ones.
Craft-Ease: Art Therapy
At Craft-Ease™, we actively promote art therapy in the form of complete craft kits so that everyone can achieve therapeutic and joyful experience through art from the comfort of their home.


